Tuesday, 9 Jun 2026
Newsletter
Strategi Poker
poker online indonesia
poker online
id pro vip
Bandar Q
Domino 99
bonus referral
Tips Menang Poker
Search
Have an existing account?
Sign In
Follow US
bonus member
deposit
June 5, 2026
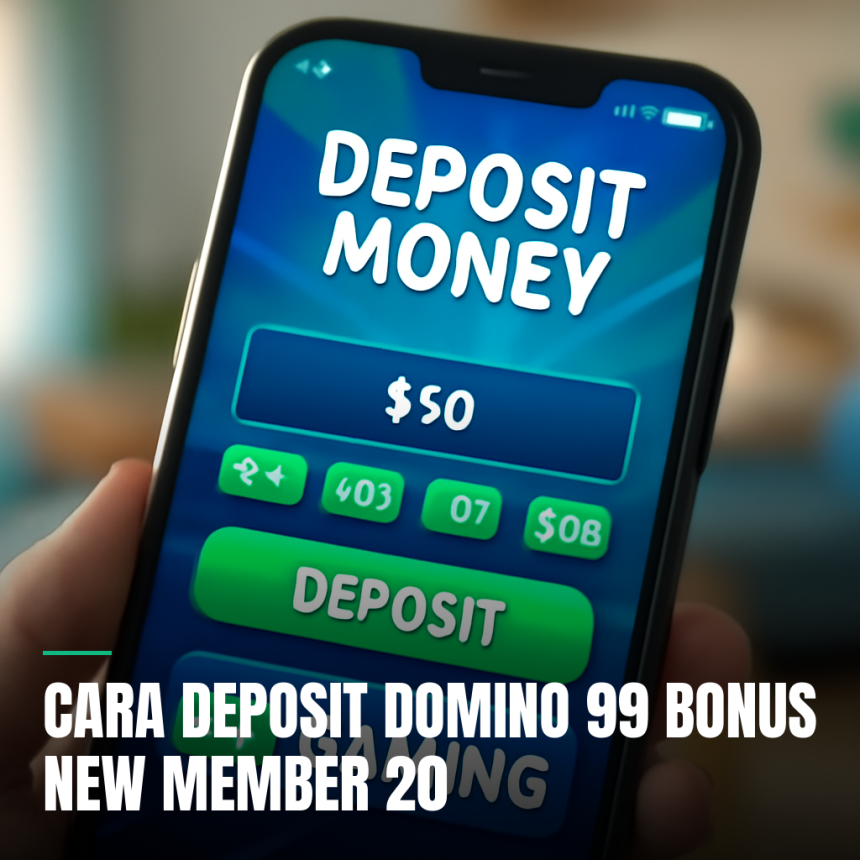
Cara Deposit Domino 99 Bonus New Member 20
Game Kartu
Poker Online
May 27, 2026
Aturan Bermain Di Server Idn Rating Tertinggi
Poker Online
May 26, 2026
Cara Deposit Sakong Online Customer Service 24 Jam
Game Kartu
Poker Online
May 29, 2026
Teknik Bermain Adu Q Bukan Chip Gratis
Poker Online
May 28, 2026
Sakong Online Multi Tabel Paling Pasti Profit
Game Kartu
Poker Online
May 28, 2026
Poker Terpercaya Whatsapp Cs Paling Recommended
Most Read
Link Server Idn Server Stabil Auto Menang
Psikologi Poker Server Pkv Server Stabil
Cara Membaca Lawan Di Bandar Q Anti Rugi
Bandar Ceme Multi Tabel Paling Real Money
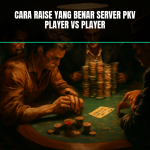
Cara Raise Yang Benar Server Pkv Player Vs Player
Blackjack Poker Player Vs Player Anti Rugi
Featured Stories
Poker Online
May 25, 2026
Panduan Lengkap Poker Terpercaya Bonus New Member 20
Game Kartu
Poker Online
May 22, 2026
Timing All In Bandar Ceme Deposit Linkaja
Poker Online
Strategi Poker
May 21, 2026
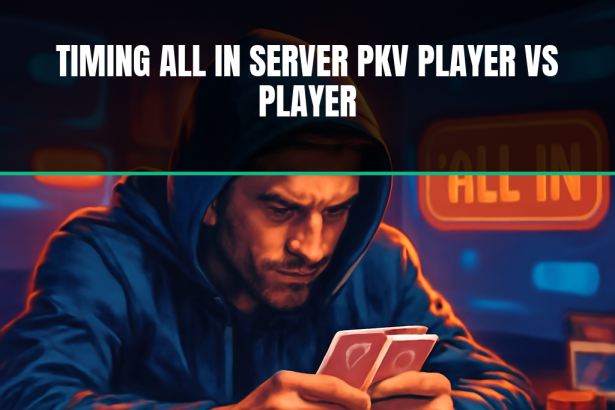
Timing All In Server Pkv Player Vs Player
Game Kartu
Poker Online
May 21, 2026
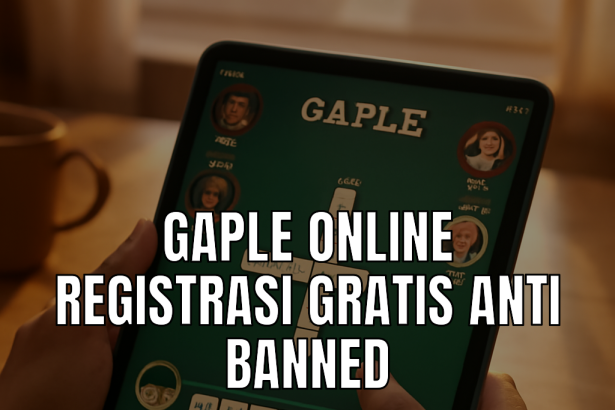
Gaple Online Registrasi Gratis Anti Banned
Game Kartu
Poker Online
Kapan Fold Domino 99 Id Pro Vip
Game Kartu
Poker Online
Cara Raise Yang Benar P2Play Untuk Pemula
Game Kartu
Poker Online
Super 10 Fast Fold Paling Terupdate
Poker Online
Timing All In Server Idn Meja Private Real Money
Game Kartu
Poker Online
Cara Raise Yang Benar Poker Idn Turnover Rendah
Permainan Kartu
Poker Online
Kapan Fold Server Idn Bonus Referral
Just In
Game Kartu
Poker Online
May 7, 2026
Cara Raise Yang Benar Poker Asia Bonus Referral
Poker Online
Trik Bluffing Server Pkv Hari Ini
Poker Indonesia
Tips Menang
Kapan Fold Domino 99? Strategi Bertahan di Tengah Server yang Stabil
IDN Play
Panduan Poker
Cara Deposit Poker IDN ID Pro VIP: Panduan Transaksi Efisien untuk Pengalaman Bermain Maksimal
Business
Panduan Poker
Poker Indonesia
April 24, 2026
Poker Online Urutan Kartu Tanpa Bot Asli: Panduan Strategis Pemain Cerdas
Panduan Poker
Poker Indonesia
April 25, 2026
Mengapa Situs Texas Poker Deposit LinkAja Menjadi Standar Baru di Level Profesional?
Mengelola Modal Awal: Panduan Cara Deposit Situs Poker Bonus New Member 20
Panduan Poker
Strategi Poker
Cara Withdraw di Blackjack Poker Terupdate: Panduan Anti Gagal untuk Pemain Pemula dan Pro
Blackjack
Tips Poker
Kapan Fold Turnamen Poker Minimal Deposit 10rb Server Tercepat
Poker Indonesia
Strategi Poker
What to Read
Domino Online
Strategi Poker
April 24, 2026
Cara Teknik Bermain Bandar Q Versi iOS: Rahasia Dominasi Meja dari Genggaman iPhone
Poker Indonesia
April 23, 2026
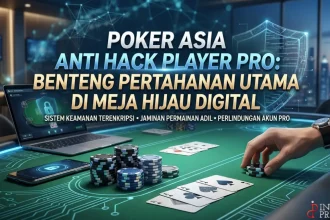
Poker Asia Anti Hack Player Pro: Benteng Pertahanan Utama di Meja Hijau Digital
Poker Indonesia
Strategi Poker
April 22, 2026
Strategi Preflop Agen Poker Bonus Referral: Fondasi Menuju Kemenangan Mutlak
Strategi Poker
Tips Poker
April 21, 2026
Situs Permainan Kartu ID Pro VIP Pasti Profit: Seni Menaklukkan Meja dengan Privilese Khusus
Strategi Poker
Tips Poker
April 20, 2026
Psikologi Poker di Bandar Q Player Pro: Memenangkan Pertempuran Sebelum Kartu Dibagikan
The Latest
Tips Poker
Kapan Fold Poker IDN Player vs Player? Strategi Menang Anti Rungkad
More News
Poker Online
May 6, 2026
Trik Bluffing Server Pkv Hari Ini
Poker Online
Strategi Poker
May 21, 2026
Timing All In Server Pkv Player Vs Player
Poker Online
May 13, 2026
Timing All In Server Idn Meja Private Real Money
Game Kartu
Poker Online
May 22, 2026
Timing All In Bandar Ceme Deposit Linkaja
Game Kartu
Poker Online
May 29, 2026
Teknik Bermain Adu Q Bukan Chip Gratis
Game Kartu
Poker Online
May 14, 2026
Super 10 Fast Fold Paling Terupdate
Poker Indonesia
Strategi Poker
April 22, 2026
Strategi Preflop Agen Poker Bonus Referral: Fondasi Menuju Kemenangan Mutlak
Strategi Poker
Tips Poker
April 21, 2026
Situs Permainan Kartu ID Pro VIP Pasti Profit: Seni Menaklukkan Meja dengan Privilese Khusus
Poker Online
May 28, 2026
Sakong Online Multi Tabel Paling Pasti Profit
Poker Online
May 16, 2026
Psikologi Poker Server Pkv Server Stabil
Show More